

WooCommerce

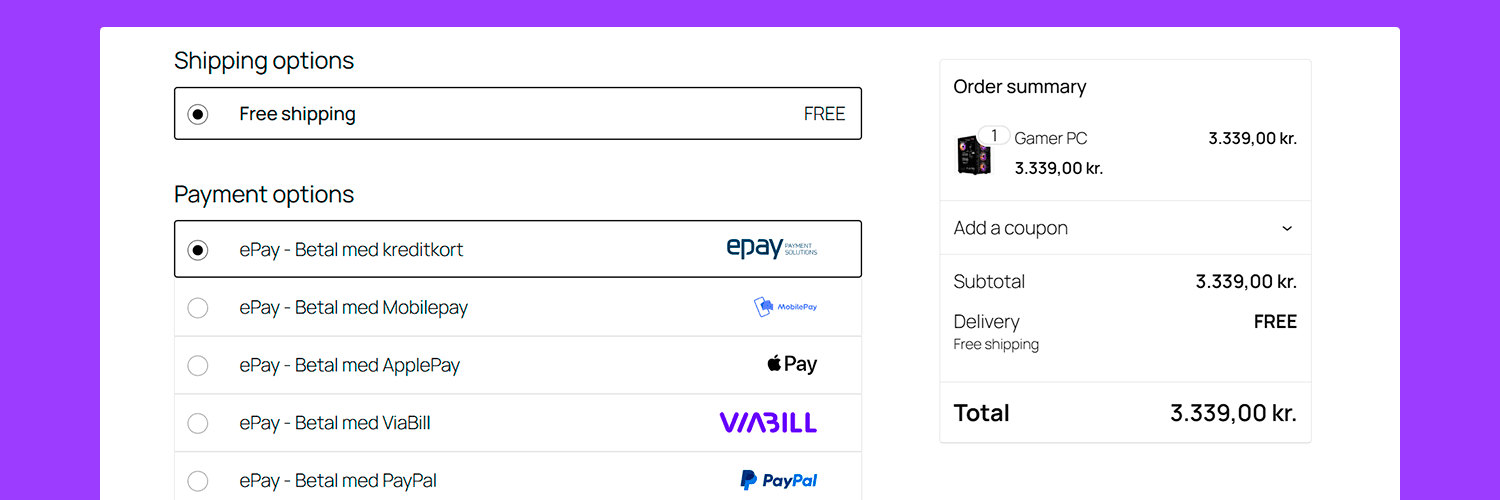
Use this guide if your webshop runs on WordPress with WooCommerce.
The WooCommerce plugin is the fastest way to get from account setup to a working test payment. You install the plugin, add your ePay credentials, place a test order and confirm that WooCommerce updates the order correctly.
What you will do
In this guide, you will:
Install the ePay plugin in WordPress
Open the WooCommerce payment settings
Add your test API key and test Point of Sale ID
Place a test order in your webshop
Confirm that the WooCommerce order status updates correctly
Before you start
You need:
- A WordPress site with WooCommerce installed
- Administrator access to
wp-admin - Access to ePay Backoffice
- An API key
- A test Point of Sale ID
If you still need your credentials, see Set up your account.
Before installing a new plugin on a live shop, take a backup first.
Step 1: Install the plugin
Install the ePay plugin from WordPress.
Plugin page: ePay Payment Solutions for WooCommerce
Recommended path:
Log in to wp-admin
Go to Plugins -> Add New
Search for epay
Find the ePay plugin and click Install Now
Click Activate
If you received the plugin as a .zip file, you can also install it with Plugins -> Add New -> Upload Plugin.
Step 2: Open the WooCommerce payment settings
After activation, open the plugin settings in WooCommerce:
Go to WooCommerce -> Settings
Open the Payments tab
Select ePay Payment Solutions - EPIC
Enable the payment method
This is where you connect WooCommerce to ePay.
Step 3: Add your ePay test credentials
In the plugin settings, add:
| Value | What to use while testing |
|---|---|
| API key | Your test API key |
| Point of Sale ID | Your test Point of Sale ID |
Use test values while setting up the plugin.
Do not mix test and live values. A live API key with a test Point of Sale ID, or the other way around, will usually cause checkout problems.
Step 4: Review the key plugin settings
Start with the minimum setup that gets checkout working.
The most important settings are:
| Setting | What it does |
|---|---|
| Title | The payment method name shown to customers in checkout |
| Description | Short text shown below the payment method |
| API key | Connects WooCommerce to your ePay account |
| Point of Sale ID | Tells ePay which webshop or sales channel the payment belongs to |
| Credit card icons | Shows supported card brands in checkout |
| Instant capture | Captures the payment immediately after authorization |
Keep the setup simple during testing. You can fine-tune titles, icons and capture behavior after the first successful payment.
Step 5: Register your test domain
Before you test checkout, make sure the domain you are using is registered on the relevant Point of Sale in ePay Backoffice.
If the domain is missing, the payment window may fail to open.
Step 6: Place a test order
Go through your webshop like a normal customer:
Add a product to the cart
Go to checkout
Choose ePay as the payment method
Place the order
Complete the payment in the ePay payment window
After the payment finishes, the customer should return to your WooCommerce confirmation page.
Step 7: Check the WooCommerce order
Open the order in WooCommerce and confirm that:
- The order was created correctly
- The payment was attached to the correct order
- The order status changed as expected
- The payment details are visible in the order view
A successful payment should normally move the order out of a pending state and into the correct paid or processing state, depending on your WooCommerce setup.
Manage payments from WooCommerce
You can manage payments directly from WooCommerce instead of switching to ePay Backoffice for every action.
Depending on your setup, this can include:
- Capturing authorized payments
- Refunding full or partial amounts
- Viewing payment details on the WooCommerce order
This is especially useful if your support or operations team works primarily in WooCommerce.
Subscription payments
If you want recurring payments, install the official WooCommerce Subscriptions plugin.
The ePay WooCommerce plugin supports subscription flows, but you should test them separately before going live.
Common problems
The payment method does not appear in checkout
Check that:
- The plugin is activated
- The ePay payment method is enabled in WooCommerce
- The API key is correct
- The Point of Sale ID is correct
- You are using test values consistently
The payment window does not open
Check that:
- The webshop domain is registered on the Point of Sale
- The plugin credentials match the same environment
- The checkout page has no theme or plugin conflicts
The payment succeeds, but the order is not updated
Check that:
- WooCommerce can receive the payment result correctly
- Your site is publicly reachable during testing
- The plugin settings were saved correctly
- The order status behavior matches your WooCommerce configuration
You get an invalid credentials error
Check that:
- You copied the full API key
- There are no leading or trailing spaces
- You are not mixing test and live values
What you built
You have now connected WooCommerce to ePay and completed your first test payment through the plugin.
Before going live, also test:
- A successful payment
- A failed payment
- A cancelled payment
- The full customer return flow
- Refunds or captures, if you use them