

Opencart

Use this guide if your webshop runs on OpenCart 4.
The OpenCart module is the fastest way to connect your shop to ePay without building a custom integration. You install the module, activate the payment extension, add your ePay credentials and place a test order.
What you will do
In this guide, you will:
Add your test API key, test Point of Sale ID and webhook authorization
Before you start
You need:
- An OpenCart 4 installation
- Access to the OpenCart administration
- Access to ePay Backoffice
- An API key
- A test Point of Sale ID
- A webhook authorization value
If you still need your credentials, see Set up your account.
Before installing a new module on a live shop, take a backup first.
Step 1: Download the module
Download the latest OpenCart module release from GitHub:
Use the latest released version unless you have a specific reason to stay on an older one.
Step 2: Install the module in OpenCart
In OpenCart administration:
Go to Extensions -> Installer
Click Upload
Select the downloaded .zip file
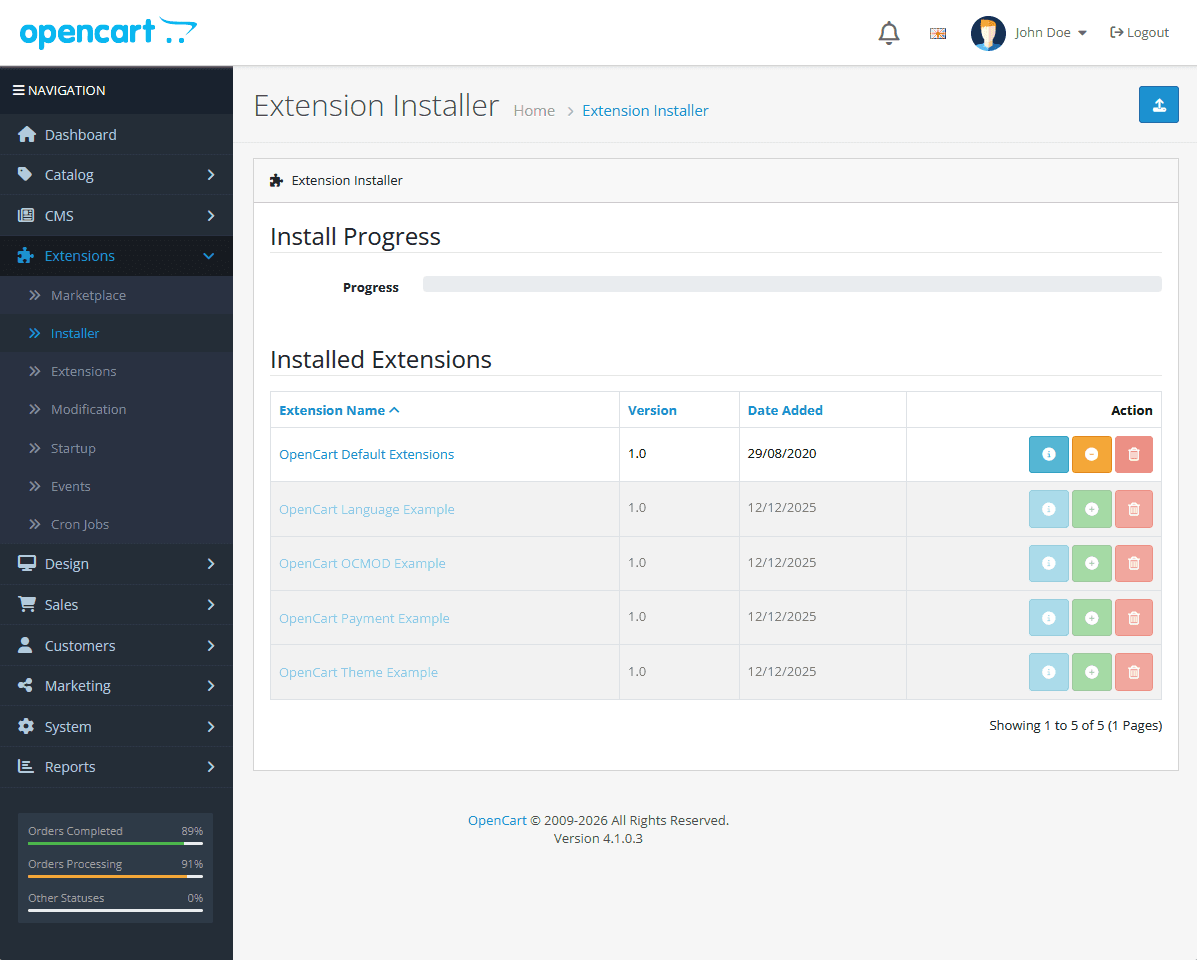
After this step, the module files are installed but the payment extension is not yet active.
Step 3: Activate the module
OpenCart activation happens in two places.
First:
Go to Extensions -> Installed Extensions
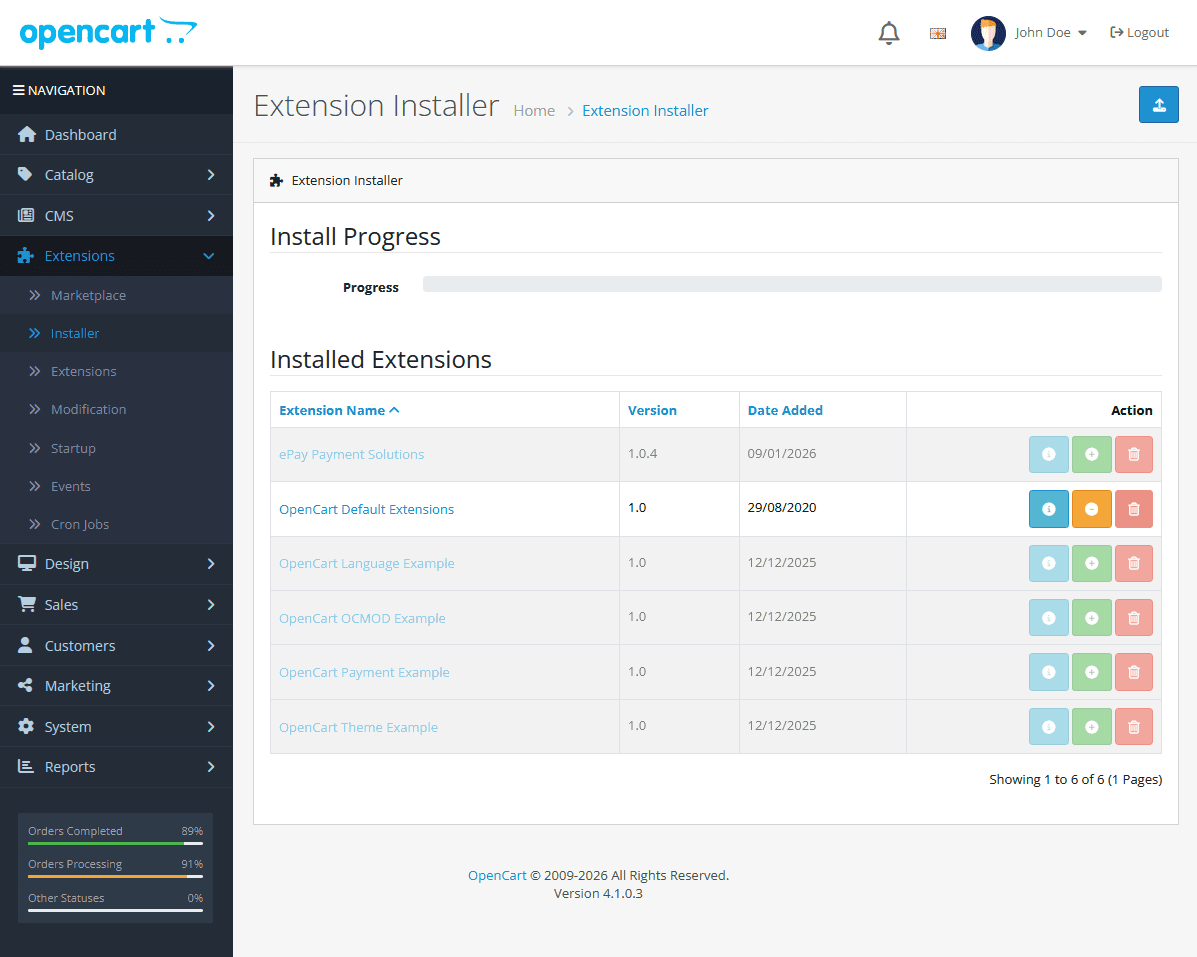
Then:
Go to Extensions
Choose Payments in the extension type dropdown
Find ePay Payment Solutions
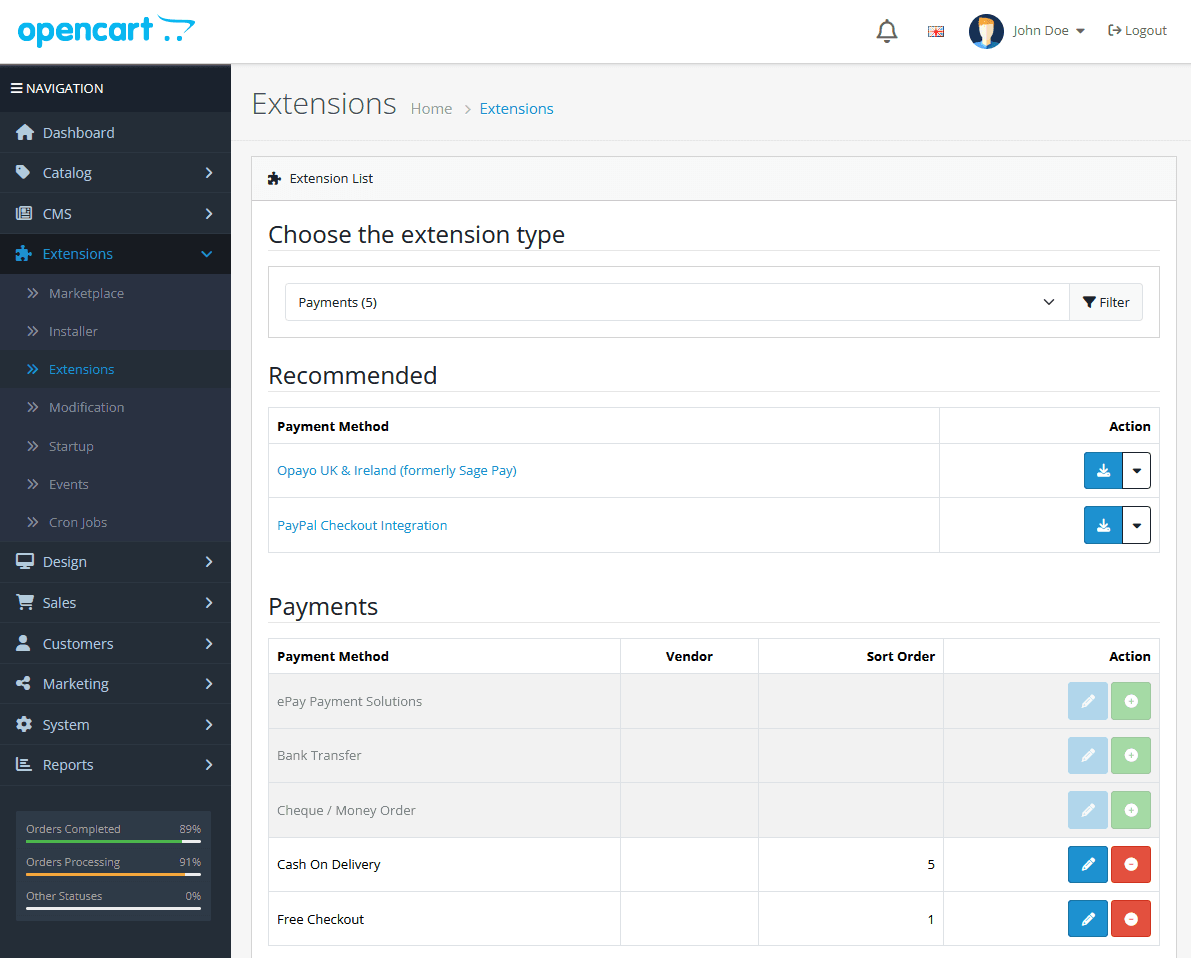
After this step, the payment method is available for configuration.
Step 4: Add your ePay credentials
Go to Extensions -> Payments, find the ePay payment method and click the blue edit button.
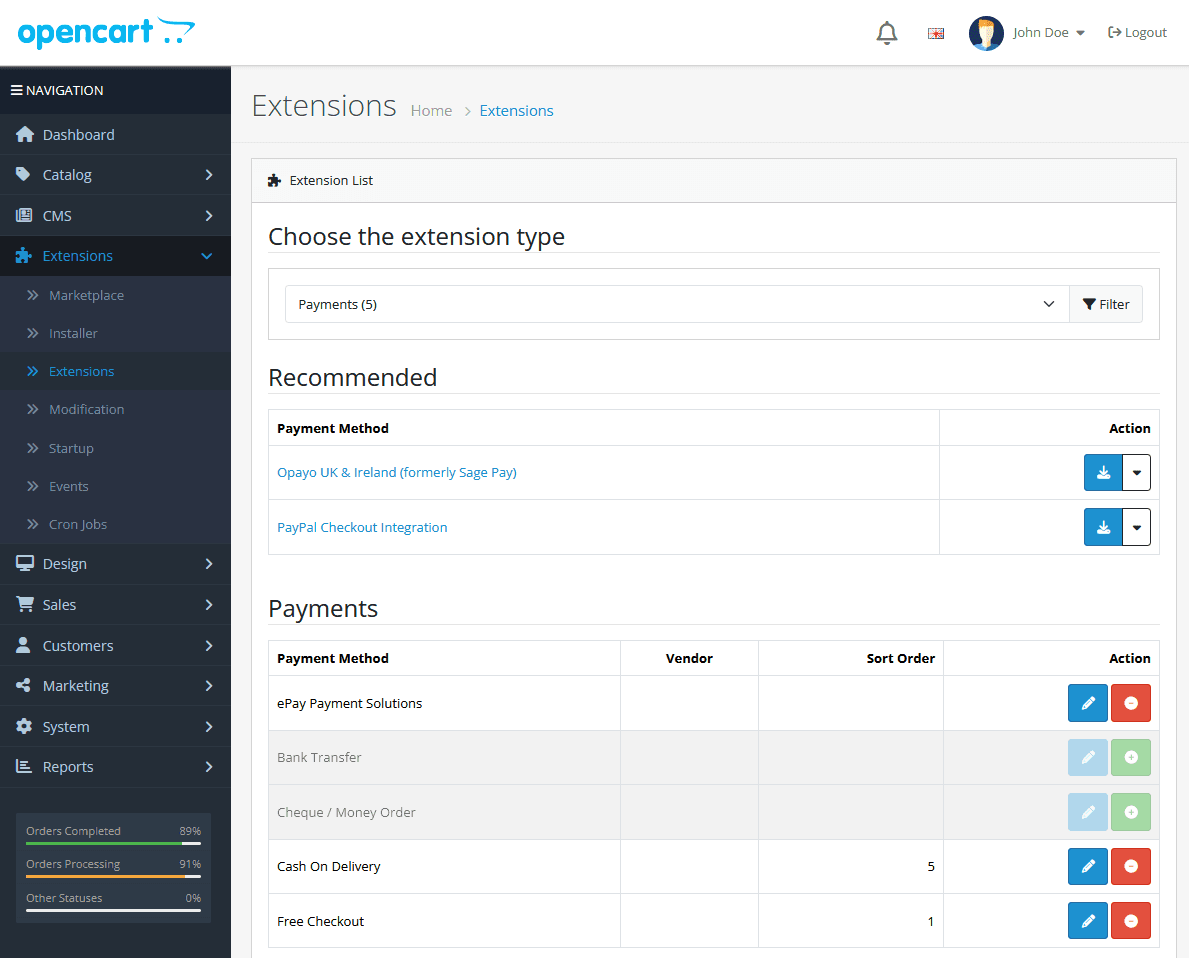
Then add:
| Value | What to use while testing |
|---|---|
| API key | Your test API key |
| Point of Sale ID | Your test Point of Sale ID |
| Webhook authorization | The webhook authorization value for the selected Point of Sale |
Partner integrations: The Point of Sale secret described here applies when the plugin initiates payments using a merchant API key. If your integration instead initiates transactions using partner-generated merchant access tokens, use your partner notification secret for the incoming callbacks. Retrieve it from Notification secret in the Partner Portal; it is shared across merchants and test/live environments. See partner callback authentication.
Save the configuration after entering the values.
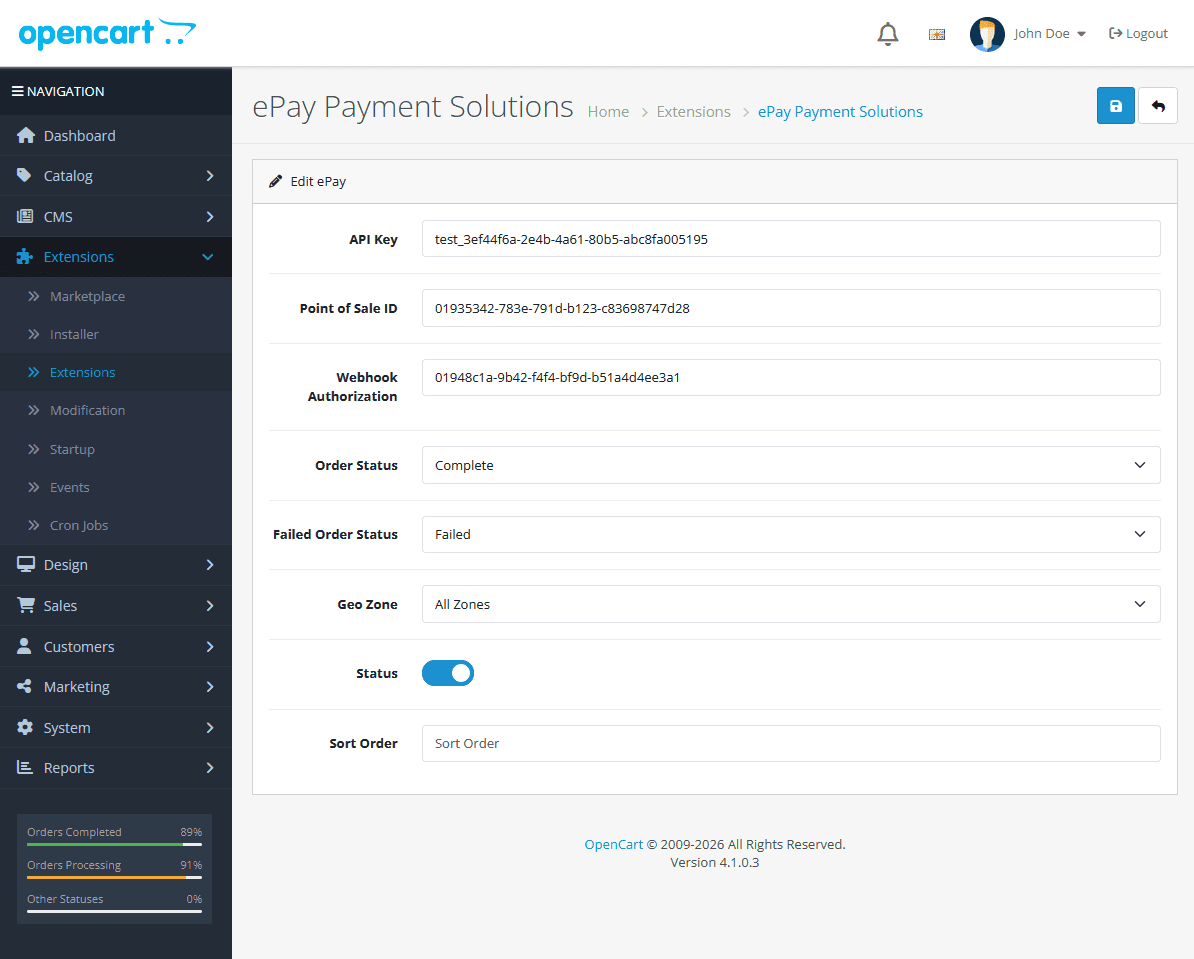
Use test values while setting up the module.
Do not mix test and live values. A live API key with a test Point of Sale ID, or the other way around, will usually cause checkout problems.
Step 5: Review the key module settings
Start with the minimum setup that gets checkout working.
The most important settings are:
| Setting | What it does |
|---|---|
| API key | Connects OpenCart to your ePay account |
| Point of Sale ID | Tells ePay which webshop or sales channel the payment belongs to |
| Webhook authorization | Lets OpenCart verify incoming payment updates |
| Status or enabled setting | Makes the payment method available in checkout |
Keep the initial setup simple. You can fine-tune other options after the first successful payment.
Step 6: Place a test order
Go through your webshop like a normal customer:
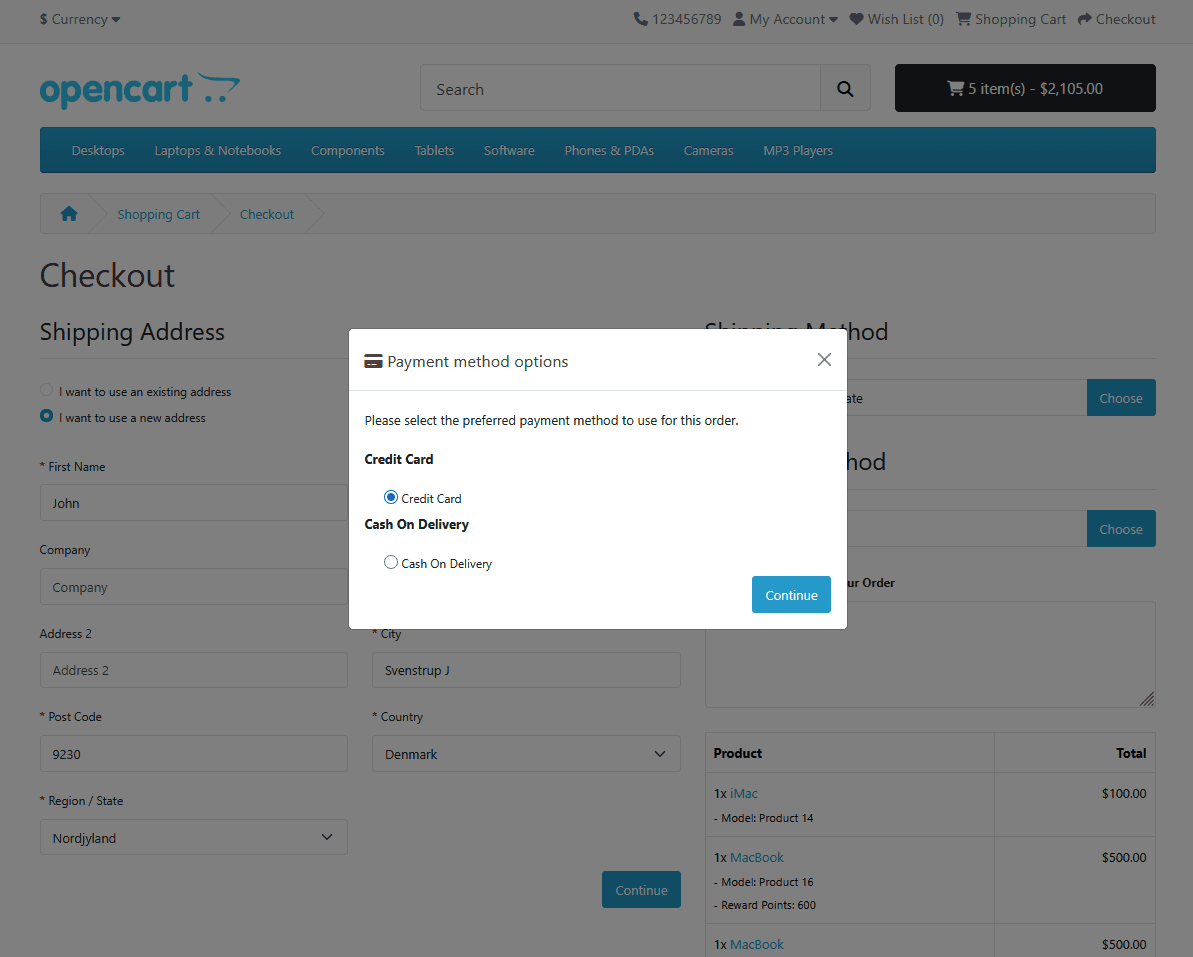
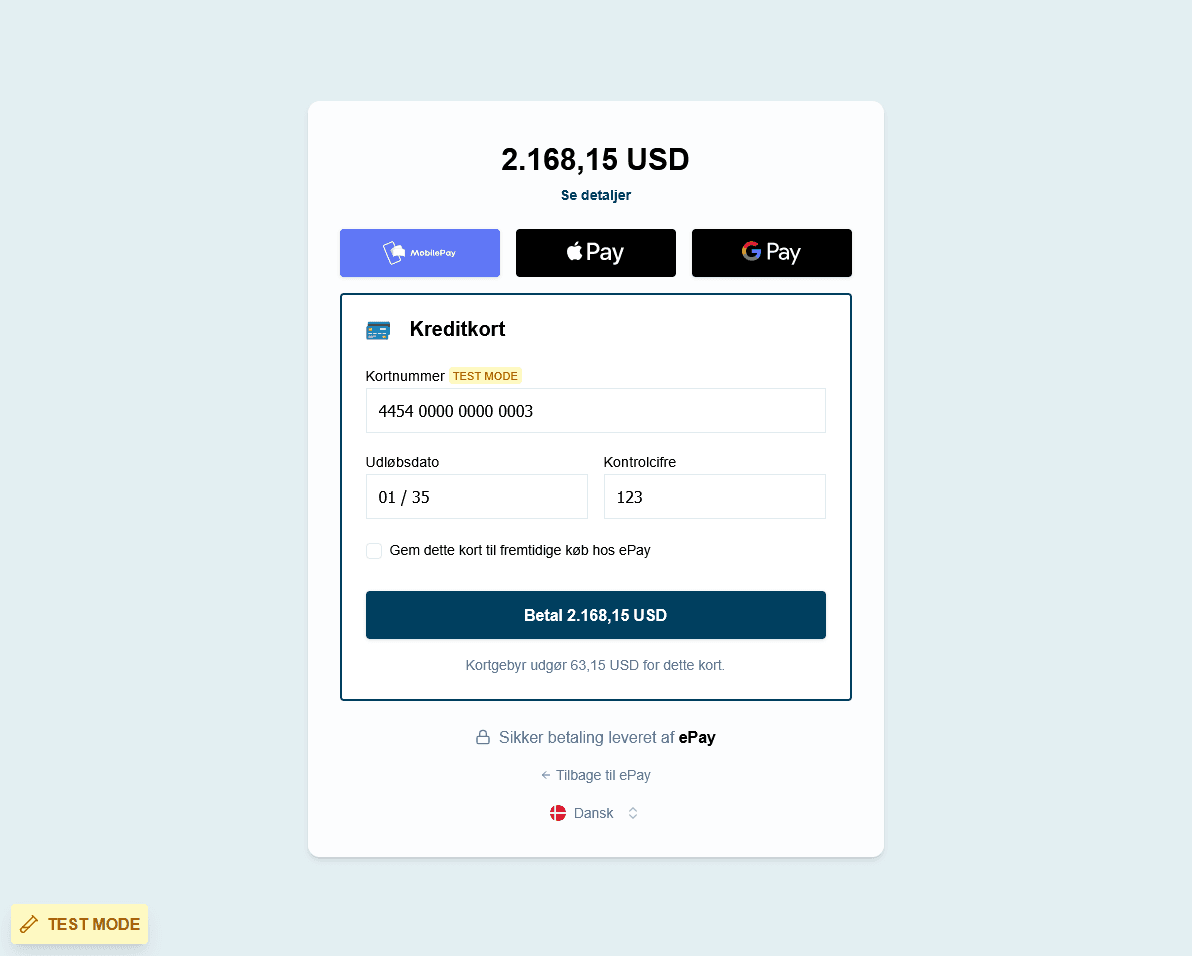
After the payment finishes, the customer should return to your OpenCart storefront.
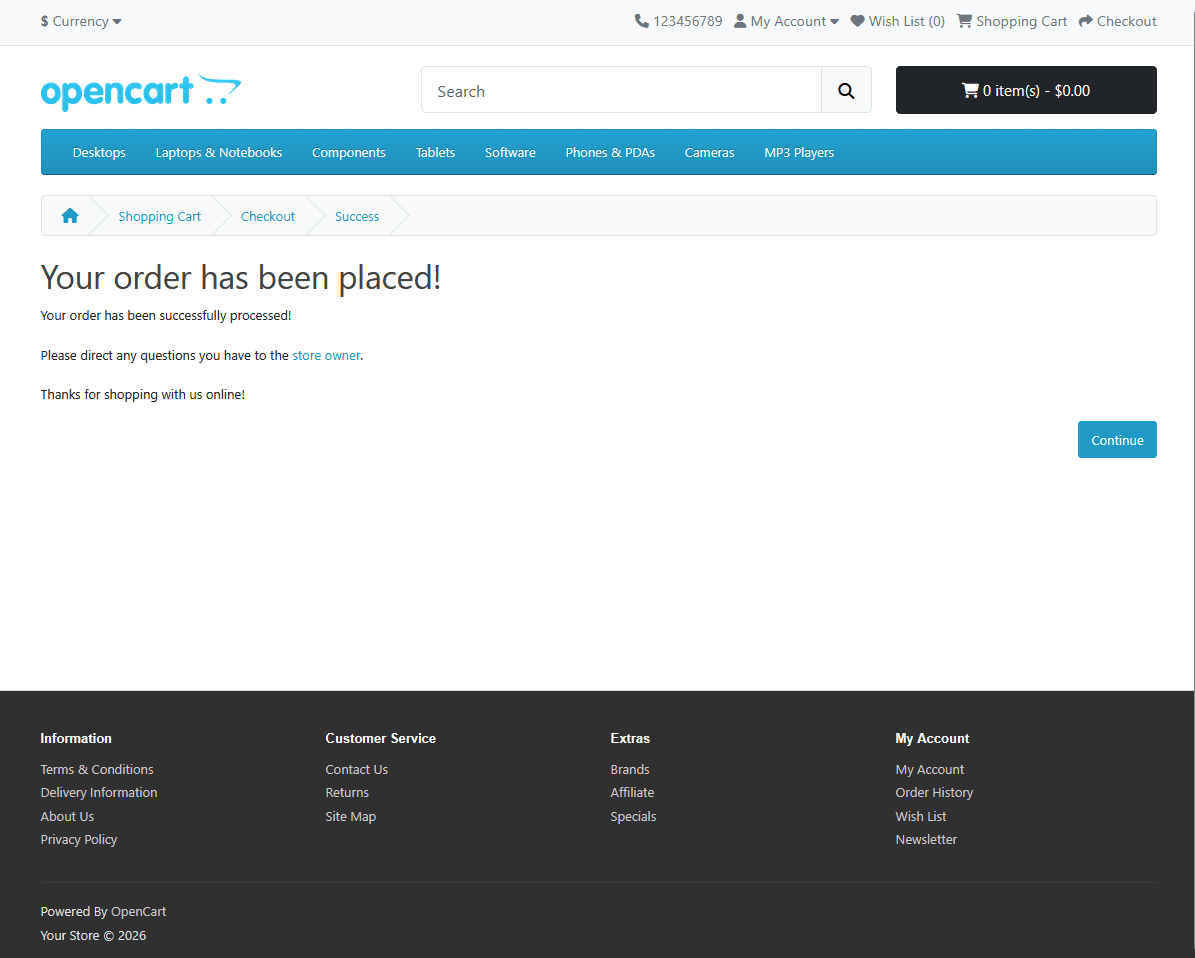
Step 7: Check the result
Confirm that:
- The payment method appears correctly in checkout
- The order was created in OpenCart
- The payment was attached to the correct order
- The order status changed as expected
- The transaction is visible in ePay Backoffice
Common problems
The payment method does not appear in checkout
Check that:
- The module was uploaded successfully
- The module was installed in both required places in OpenCart
- The payment method is enabled
- The API key is correct
- The Point of Sale ID is correct
The payment starts, but the order is not updated correctly
Check that:
- The webhook authorization value is correct
- OpenCart can receive the payment result correctly
- Your store is publicly reachable during testing
- The order status behavior matches your OpenCart configuration
The credentials seem valid, but checkout still fails
Check that:
- Test API key is paired with test Point of Sale ID
- The selected Point of Sale belongs to the same environment
- You did not switch only one of the values
What you built
You have now connected OpenCart 4 to ePay and completed your first test payment through the module.
Before going live, also test:
- A successful payment
- A failed payment
- A cancelled payment
- The full customer return flow
- Order status updates after payment completion