

Prestashop

Use this guide if your webshop runs on PrestaShop.
The PrestaShop module is the fastest way to connect your shop to ePay without building a custom integration. You install the module, add your ePay credentials, enable the payment method and place a test order.
What you will do
In this guide, you will:
Before you start
You need:
- A PrestaShop installation
- Access to the PrestaShop administration
- Access to ePay Backoffice
- An API key
- A test Point of Sale ID
If you still need your credentials, see Set up your account.
Before installing a new module on a live shop, take a backup first.
Step 1: Download the module
Download the latest PrestaShop module release from GitHub:
prestashop-epic-payment-module releases
Use the latest released version unless you have a specific reason to stay on an older one.
Step 2: Install the module in PrestaShop
In PrestaShop administration:
Go to Modules
Click Upload a module
Select the downloaded .zip file
Click Install or Configure, depending on your PrestaShop version
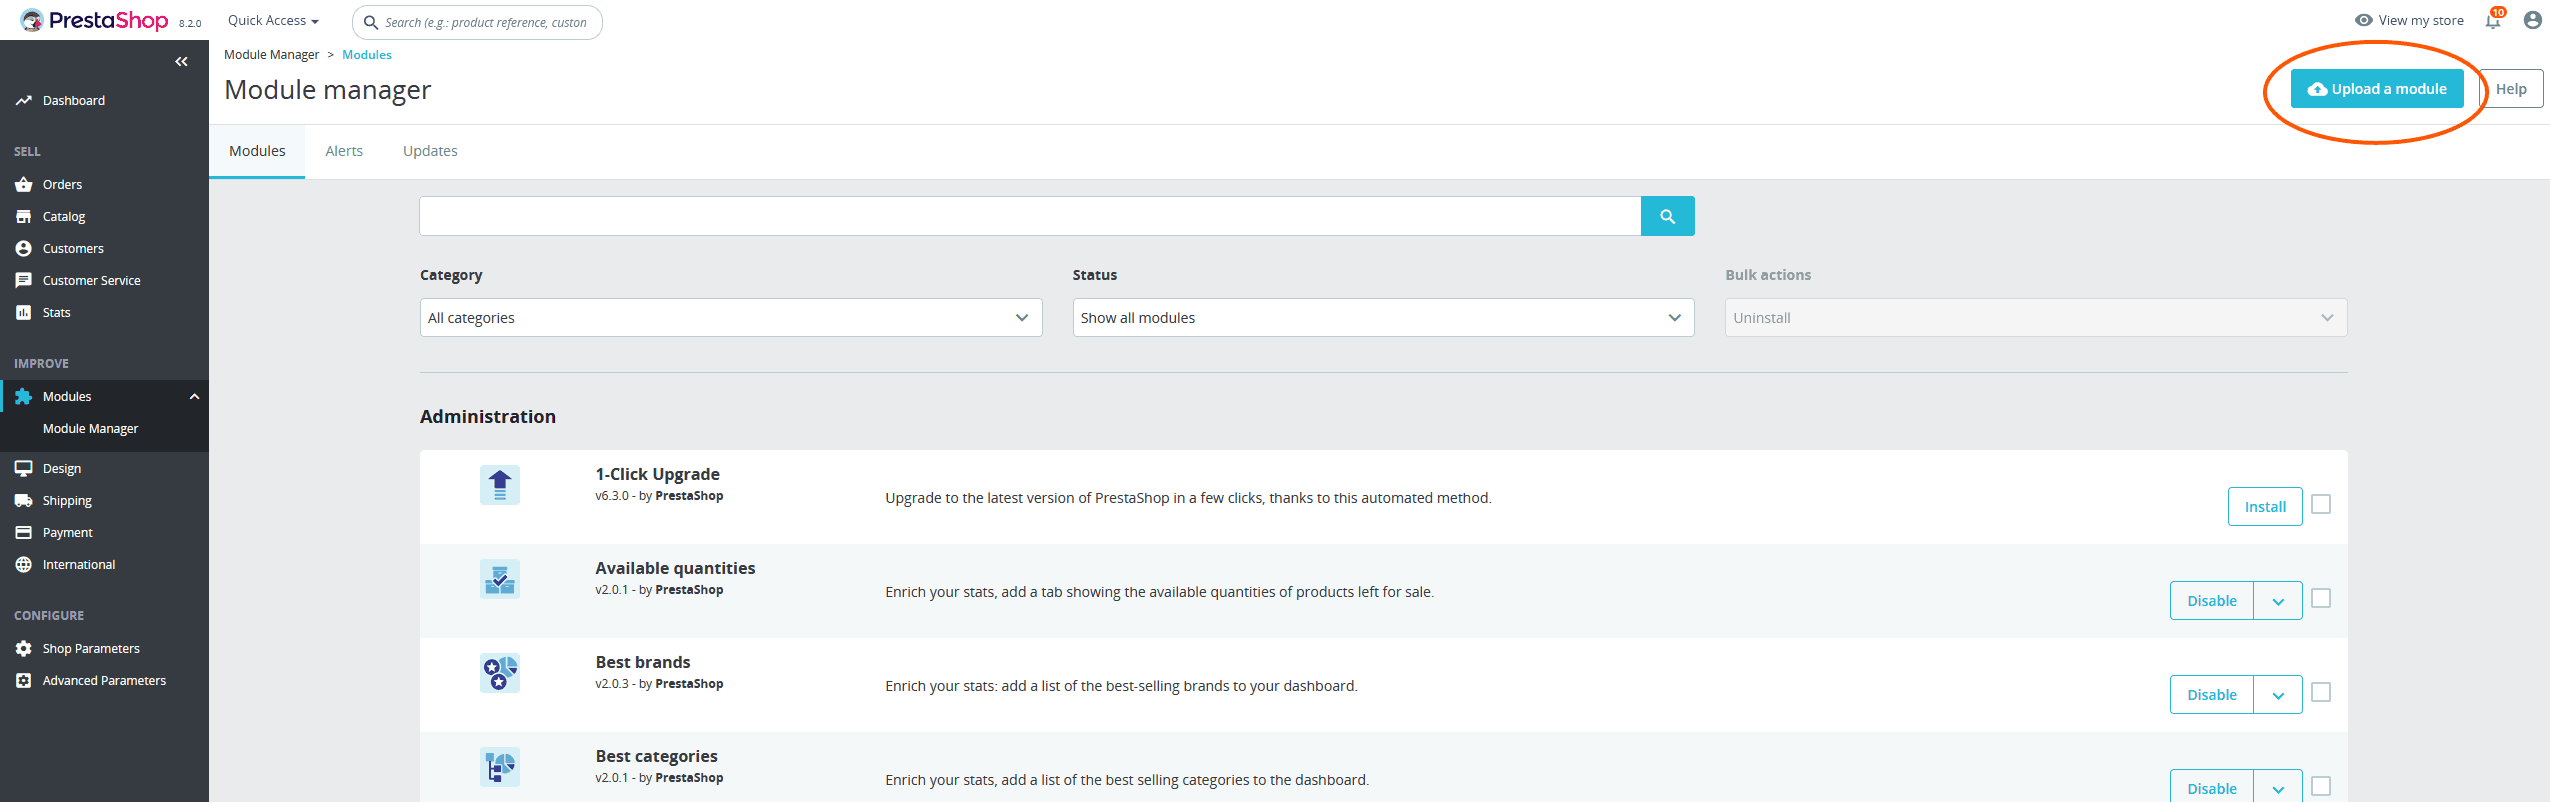
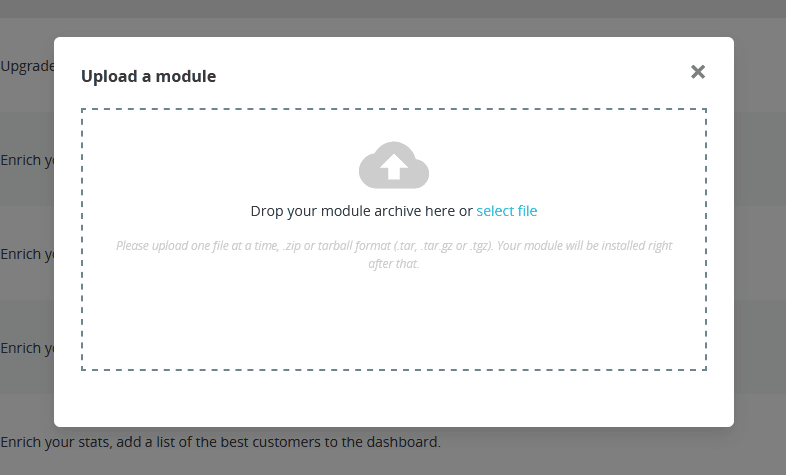
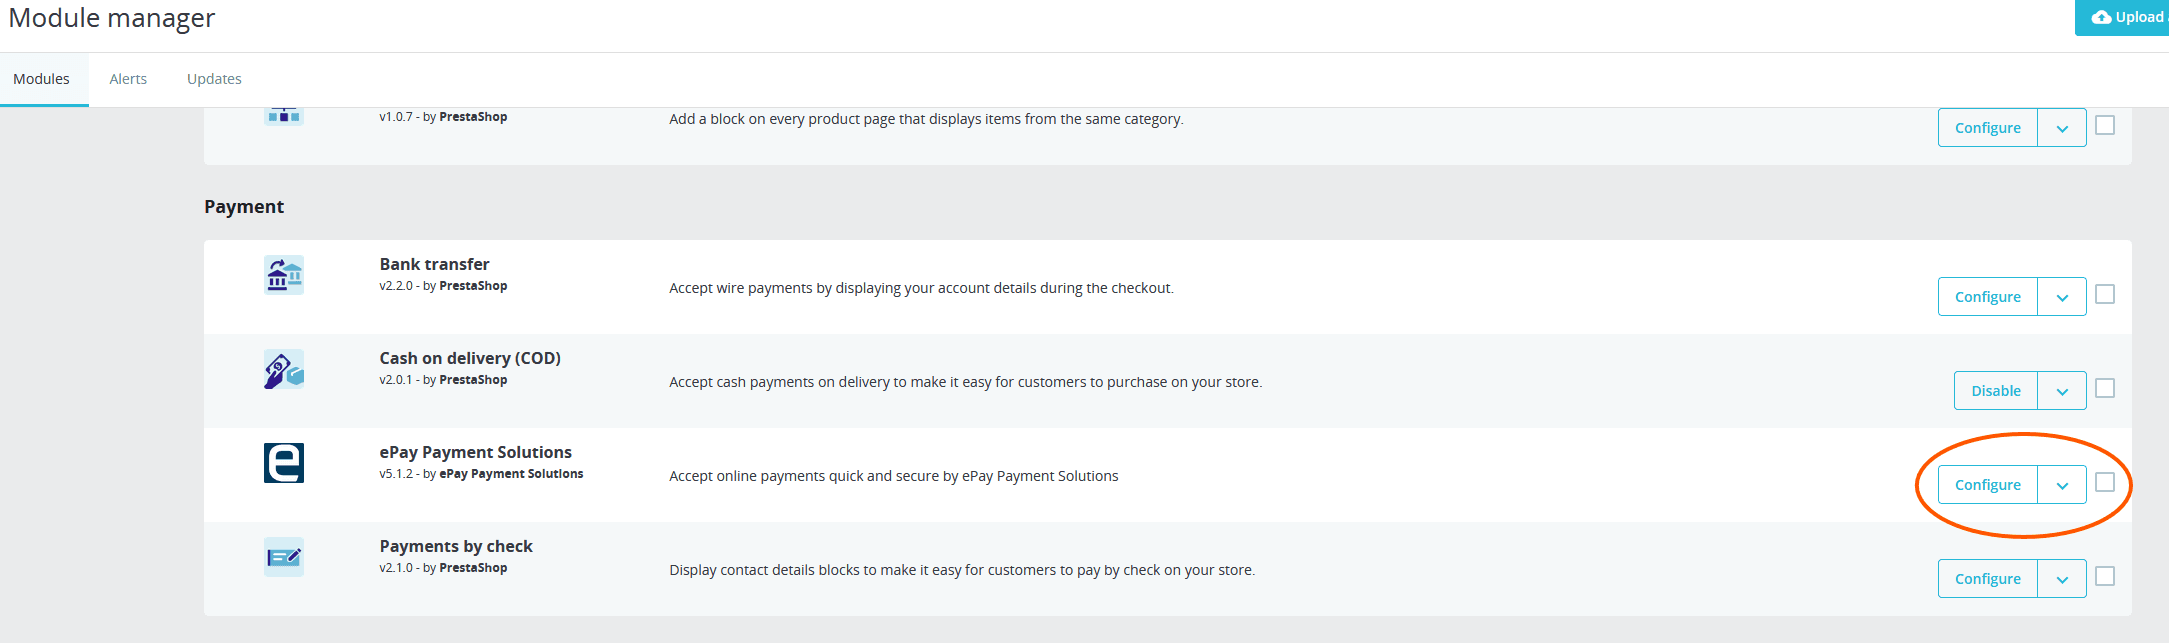
After this step, the module is installed but not yet fully configured.
Step 3: Enable the module and add your credentials
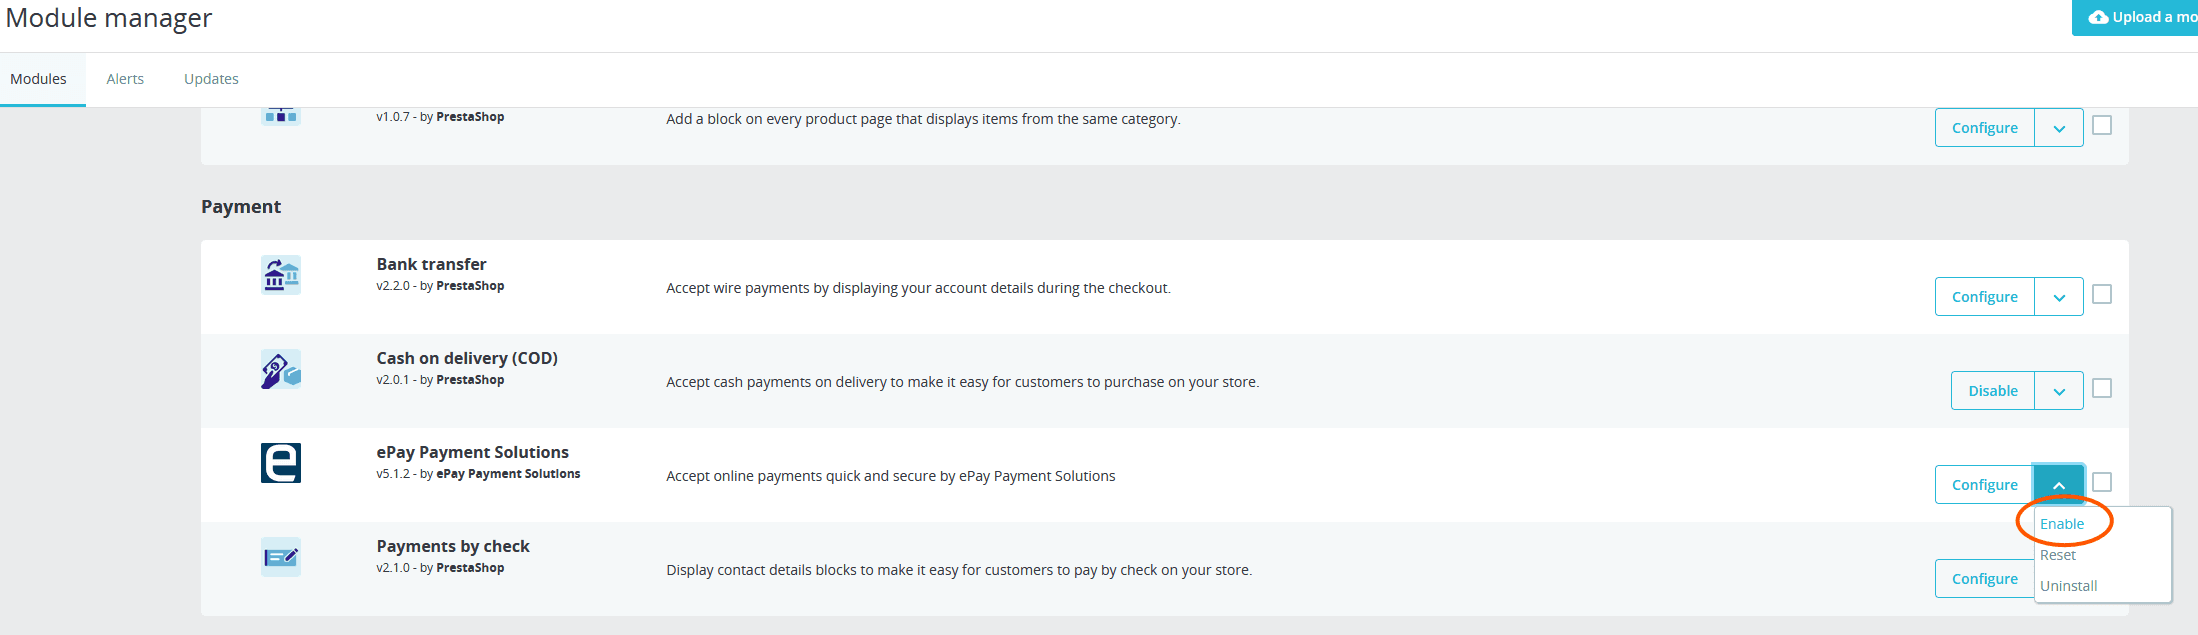
Open the ePay module settings in PrestaShop and enable the module.
Then add:
| Value | What to use while testing |
|---|---|
| API key | Your test API key |
| Point of Sale ID | Your test Point of Sale ID |
Save the configuration after entering the values.
Use test values while setting up the module.
Do not mix test and live values. A live API key with a test Point of Sale ID, or the other way around, will usually cause checkout problems.
Step 4: Review the key module settings
Start with the minimum setup that gets checkout working.
The most important settings are:
| Setting | What it does |
|---|---|
| API key | Connects PrestaShop to your ePay account |
| Point of Sale ID | Tells ePay which webshop or sales channel the payment belongs to |
| Remote API | Lets you capture, refund or delete payments from PrestaShop |
| Instant capture | Captures the payment immediately after authorization |
| Own receipt | Lets you define your own order confirmation page |
| Age verification mode | Enables age checks for all orders or only Danish delivery addresses |
| Minimum user age | Sets the minimum age when age verification is enabled |
Keep the first setup simple. You can fine-tune advanced settings after the first successful payment.
Step 5: Place a test order
Go through your webshop like a normal customer:
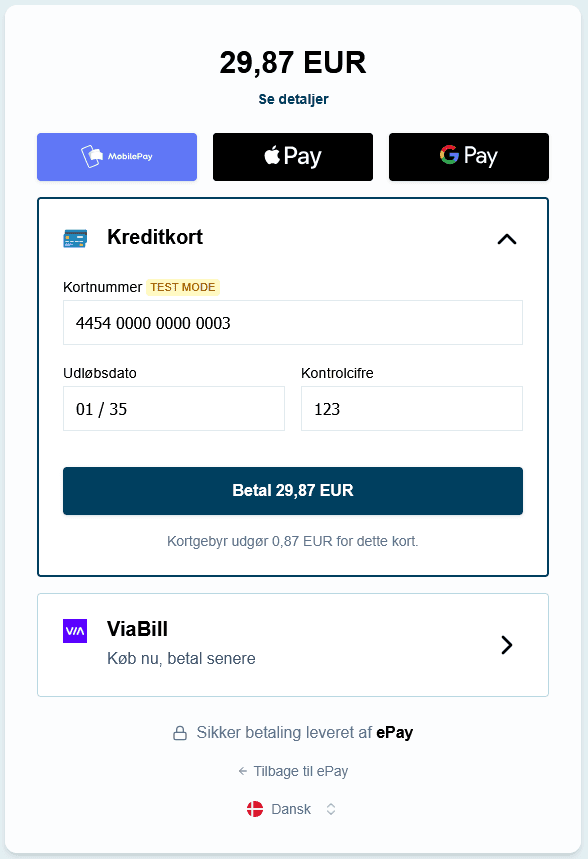
After the payment finishes, the customer should return to the PrestaShop order confirmation page.
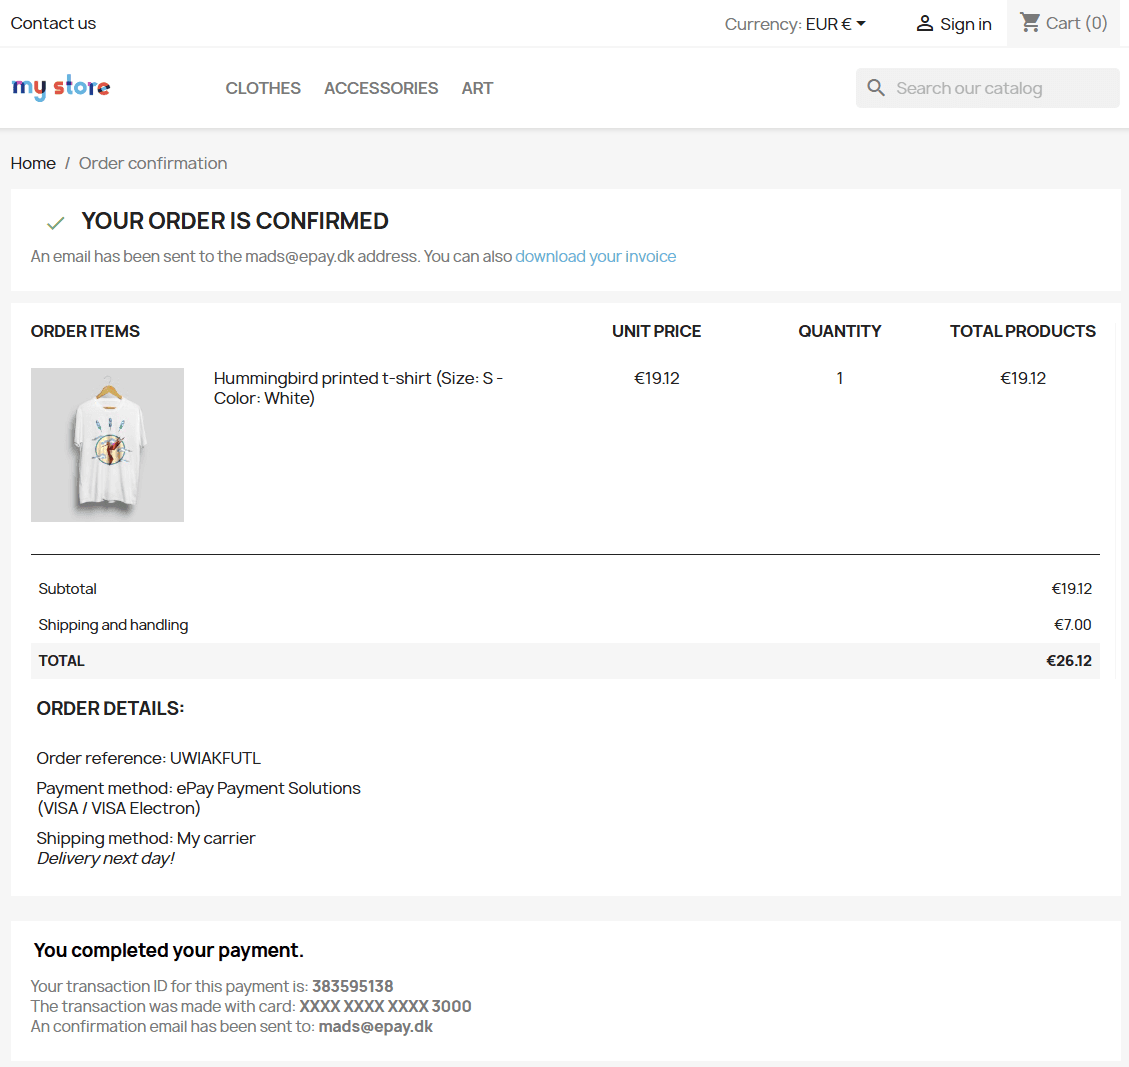
Step 6: Check the PrestaShop order
Open the order in PrestaShop administration and confirm that:
- The order was created correctly
- The payment was attached to the correct order
- The order status changed as expected
- The payment details are visible in the order view
You should also be able to see the transaction in ePay Backoffice.
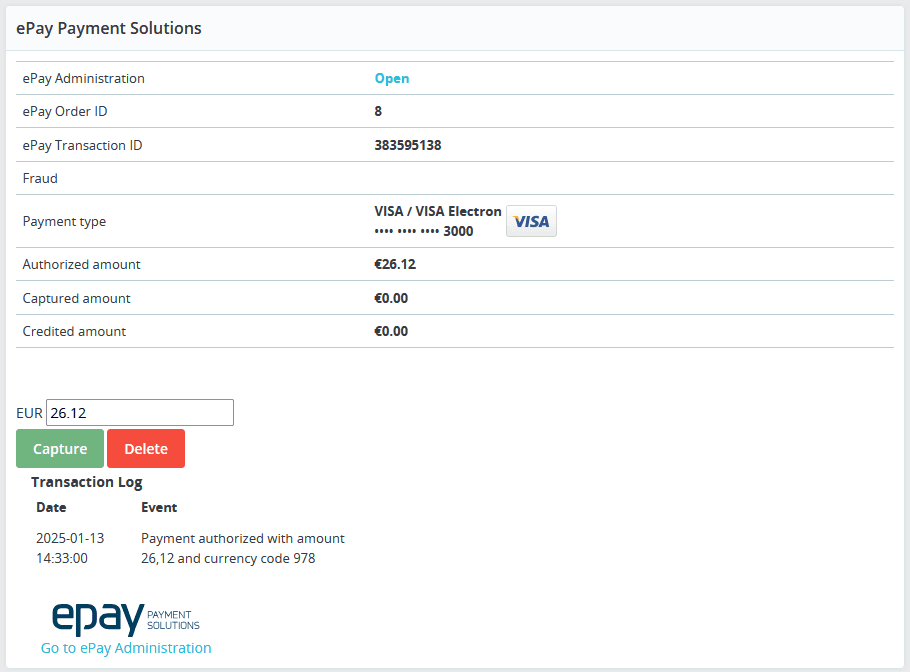
Payment information in PrestaShop
The order view can show payment details such as:
- Transaction ID
- Currency code
- Payment date
- Card type
- Amount
- Fraud-related notifications, if available
The order view can also include a link to the matching payment in ePay Backoffice.
Process payments from PrestaShop
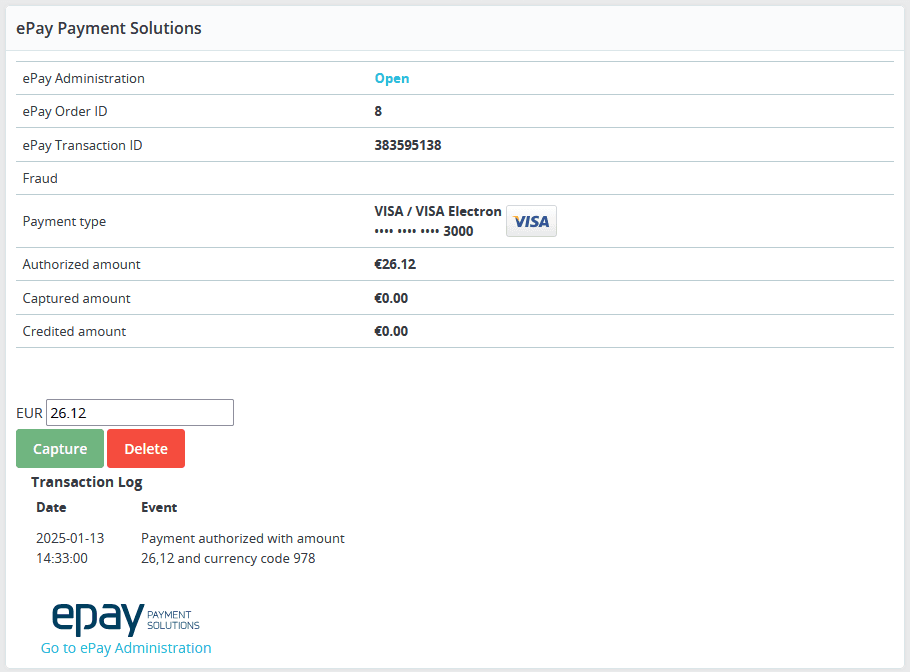
If Remote API is enabled, you can manage payments directly from PrestaShop.
Depending on your setup, this can include:
- Capturing payments
- Refunding payments
- Deleting payments
To use this safely, the PrestaShop server IP may need to be registered in ePay Backoffice under API or web service access settings.
Payment requests
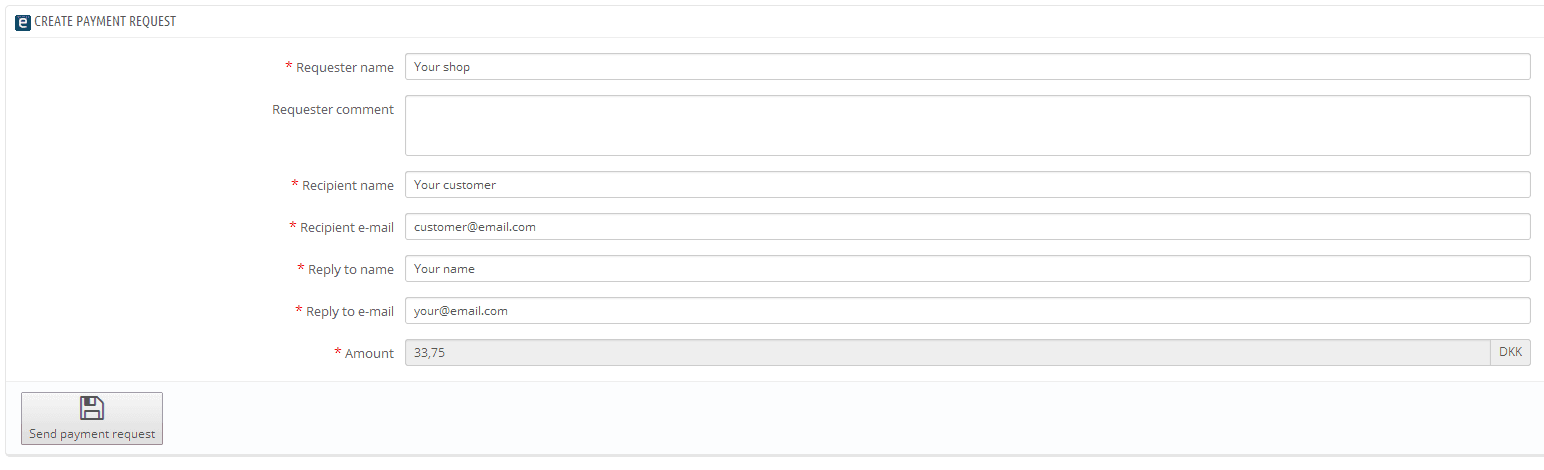
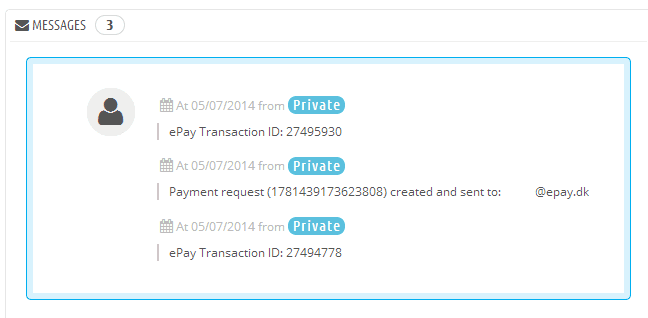
Some versions of the PrestaShop module support payment requests directly from the order view.
A payment request is an email with a payment link that opens the ePay payment window. This can be useful if an order amount changes after the original authorization.
To use payment requests, you typically need:
- Remote API enabled
- The correct Remote API password configured
- Payment requests enabled in the module settings
If you use this feature, test it separately before relying on it in production.
Common problems
The payment method does not appear in checkout
Check that:
- The module is installed correctly
- The module is enabled
- The API key is correct
- The Point of Sale ID is correct
- You are using test values consistently
The payment window opens, but the order is not updated
Check that:
- PrestaShop can receive the payment result correctly
- Your site is publicly reachable during testing
- The module settings were saved correctly
- The order status behavior matches your PrestaShop configuration
Remote payment actions do not work
Check that:
- Remote API is enabled in the module
- API or web service access is enabled in ePay
- The PrestaShop server IP is allowed in ePay Backoffice
MD5 validation fails
If your setup uses MD5 validation, check that:
- MD5 mode is enabled consistently in both systems
- The MD5 key in PrestaShop exactly matches the MD5 key in ePay Backoffice
If you are debugging a legacy PrestaShop setup with an older module version, validate the module version first before applying any file-level workaround.
Order IDs do not match
PrestaShop may use a cart ID during checkout and create the final order ID only after the payment completes.
That means the ID shown in ePay can differ from the final PrestaShop order ID, even when the payment is linked correctly.
What you built
You have now connected PrestaShop to ePay and completed your first test payment through the module.
Before going live, also test:
- A successful payment
- A failed payment
- A cancelled payment
- The full customer return flow
- Capture, refund or delete actions, if you use Remote API